We bring 18 years of proven digital performance building, managing and marketing websites. Our foundation is with technical SEO and data. Our partners who range from start-ups and e-commerce to non-profits and agencies appreciate the fact that we get things done.
We cherish partnerships that choose to put their trust in us. You?

What We Do
We specialize in doing things right. We're passionate about performance. We emphasize a solid digital foundation, without that you're looking at a house of cards. From hosting and website maintenance to full website design, development and technical seo, we currently serve small to medium businesses and a number of non profit organizations to help them operate and grow. Find out more about our current Basic package offerings.

Search Engine Optimization
One of the best ways to gain visibility is not the quickest, it takes time and patience but the rewards can be great.
learn more
WordPress Development
We’ve been working with Wordpress for so many years it’s pretty much second nature including custom themes and plugins as well as integrations.
learn more
Managed WordPress Hosting
Dinkum offers two tiers of Wordpress hosting options. Both are strong on performance, reliability and security.
learn more
Web Analytics
Your data tells a story, you just need to be reading and learning from it. Dinkum relies heavily on data for most of our activities so let us guide you.
learn moreJust a few of the happy folks that we have worked with.


We also make Apps, Tools and WordPress plugins through our Site Mavens brand.


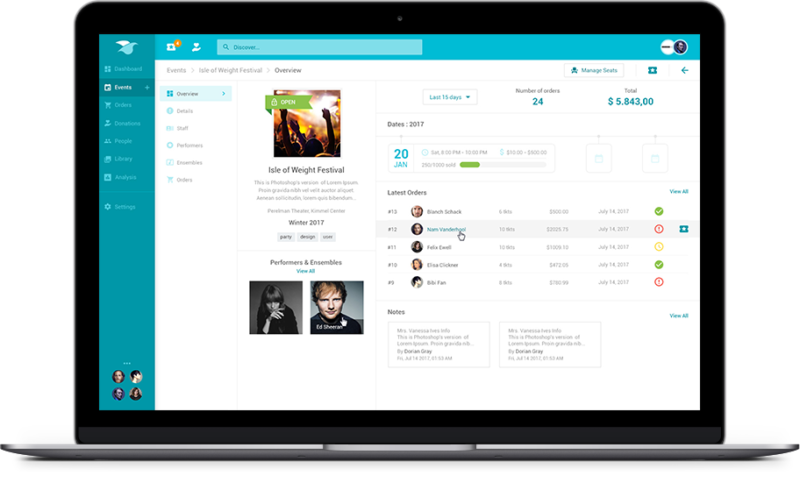
Online ticketing and customer management tools have been slow to evolve, many still relying on outdated database systems and methodologies. Our goal in developing Muse was to change this by creating a SaaS-based system that’s highly customizable, interactive, functional and user friendly for both staff and customers. Muse has developed into a strong ticketing tool …
learn more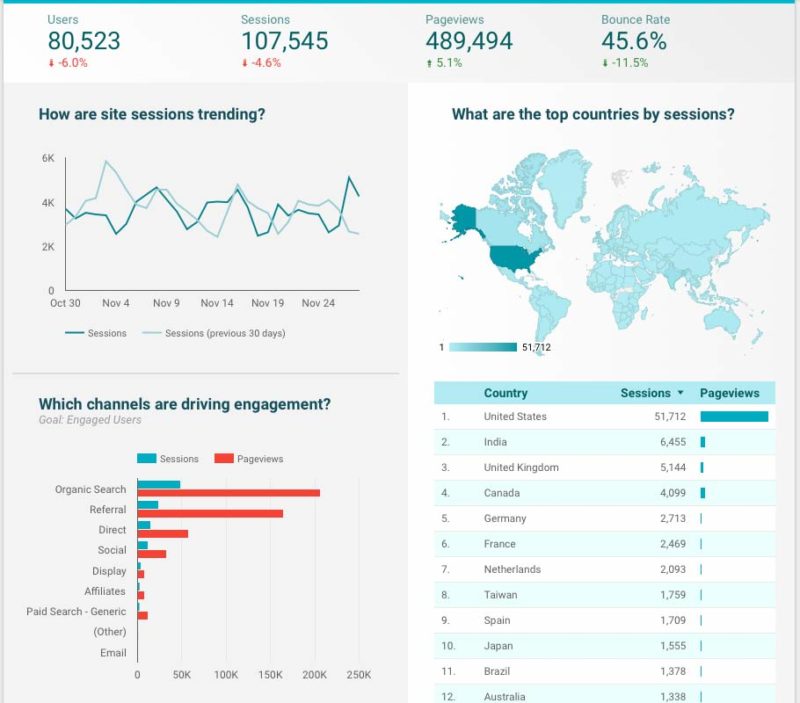
Having access to digital data that is used to move online performance forward is a key piece to ensuring you are keeping a close eye on the most important information for your business.
learn more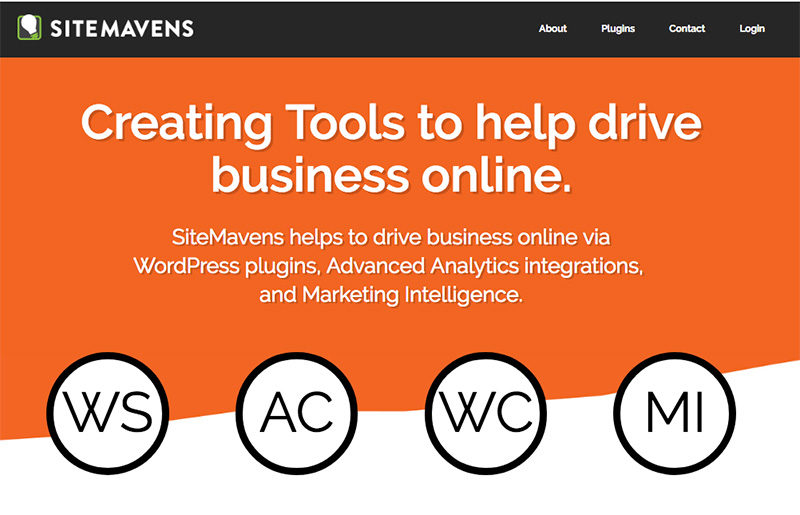
We’ve been making WordPress plugins for several years now, usually as a result of filling gaps for clients. Some of them have been useful for other businesses and continue to this day. With marketing always at the back of our minds, our plugins tend to always have an eye on your bottom line. From a …
learn more